Terraform force-unlock Is the Easy Part: Proving the Lock Is Orphaned, and Finding What the Dead Apply Already Built
TL;DR: To safely resolve a terraform force-unlock scenario, you must prove the lock is orphaned by pivoting the LockInfo metadata into your CI provider's API and cloud audit logs. If the interrupted operation was an apply, you must then reconcile the state by manually locating resources created before the runner died to avoid duplicate infrastructure and billing leaks.
The command is not the hard part
When a Terraform run fails, you are often greeted by a wall of red text: Error: Error acquiring the state lock. The output provides a LockInfo block containing a ID (nonce), Path, Operation, Who, Version, Created, and Info.
You can find the fix—terraform force-unlock <LOCK_ID>—in ten seconds. The command itself, however, will not tell you whether running it is safe. You are forced to choose between two catastrophic failure modes: breaking a live lock and allowing two concurrent writers to corrupt your state file, or leaving an orphaned lock that blocks your entire deployment pipeline.
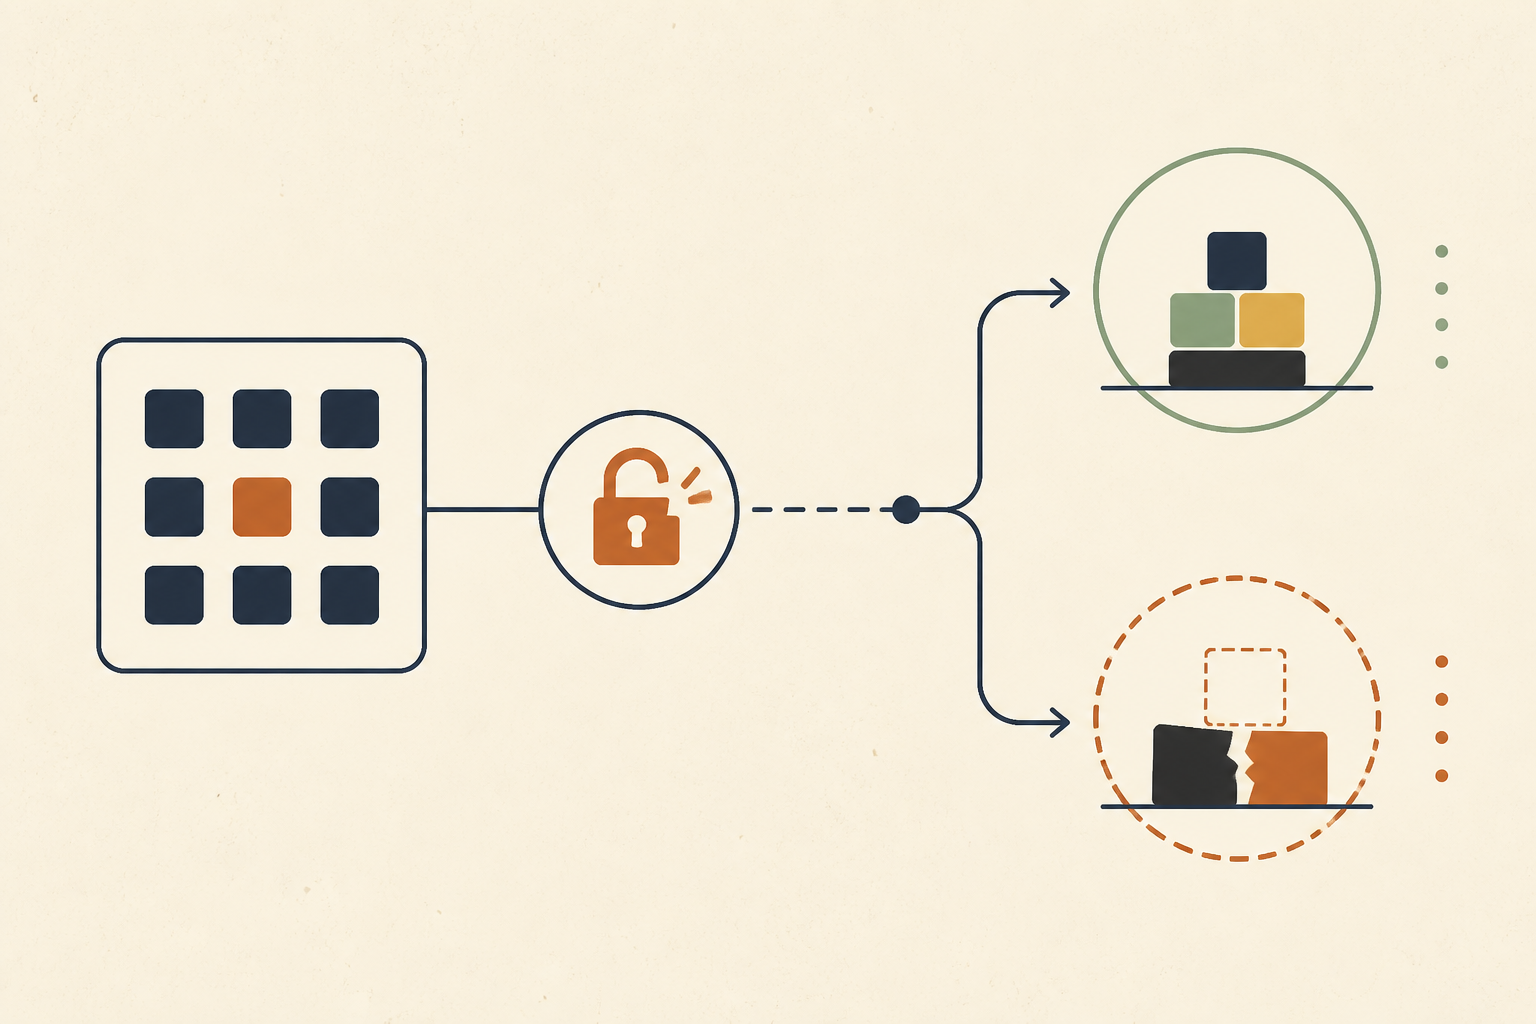
There is also a third failure mode that standard documentation ignores: a lock orphaned after resources were created but before the state was written. In this scenario, running the unlock command is only the beginning of your problems.
What the lock actually is, per backend, in 2026
The mechanics of terraform state lock have shifted, and much of the existing documentation is now factually stale. According to HashiCorp's backend documentation, the S3 backend now supports native locking.
- AWS S3: If
use_lockfile = true(introduced in Terraform 1.10), Terraform writes a<key>.tflockobject alongside your state. Thedynamodb_tablemethod is now marked as deprecated. - Azure Blob Storage: Terraform takes a native blob lease; no physical lock file is written to the container.
- Google Cloud Storage (GCS): Terraform writes a
workspace.tflockobject.
To inspect a modern S3 lock without relying on deprecated DynamoDB scans, use the AWS CLI to read the object body directly:aws s3api get-object --bucket YOUR_BUCKET --key path/to/state.tflock /dev/stdout
Six fields, six questions
The LockInfo struct, defined in the Terraform source code, carries six metadata fields that act as a diagnostic trail.
Key Takeaway: A lock’s age is not a proxy for its liveness; you must pivot the LockInfo metadata into CI and cloud audit logs to prove a process is truly dead before breaking the lock.
1. Path: Am I in the right place?
The cheapest check. Verify you are about to unlock the specific workspace and environment you intended. This prevents accidental unlocks in multi-workspace pipelines.
2. Operation: How much can this cost me?
OperationTypePlan is low risk; a plan cannot have created infrastructure. OperationTypeApply is high risk. This field dictates whether the "After the Unlock" reconciliation section of this guide is optional or mandatory.
3. Version: Where did this come from?
If the lock stamps a Terraform version that no one on your team runs locally (e.g., a specific minor version pinned in CI), you know the lock was created by your automation, not a developer's machine.
4. Who: Is that process alive?
The user@host string is a pointer. If the host is a GitHub Actions runner or a GitLab executor, pivot to their respective APIs (e.g., GET /repos/{org}/{repo}/actions/runs) to check the job status. If the job is "failed" or "cancelled," the lock is orphaned. Traditional ps aux checks fail here because the ephemeral runner is usually already destroyed.
5. Created: Is this older than a legitimate apply?
Do not use an arbitrary 30-minute rule. Compare the Created timestamp against your workspace's p99 apply duration. If your longest successful apply takes 12 minutes and the lock is 40 minutes old, it is likely stale.
6. ID: The nonce
The ID is a UUID required by the terraform force unlock command. It ensures you are targeting the specific lock instance you investigated.
If these fields remain ambiguous, check your cloud audit logs. A CloudTrail LookupEvents query for the IAM principal used by the CI runner will reveal if any Create, Update, or Delete calls were made after the lock was supposedly abandoned.
Using -lock-timeout as a diagnostic
While -lock-timeout is usually framed as a convenience for CI queues, it is also a diagnostic tool. If you run a plan with -lock-timeout=15m and it still fails, you have demonstrated that the lock outlasts even your longest successful runs. This is empirical evidence of an orphan, rather than a temporary concurrency overlap.
The four CI failures that actually cause this
Orphaned locks are rarely "random." They are usually manufactured by specific CI/CD behaviors:
- OIDC Session Expiry: If your
assume_role_durationis 15 minutes but your apply takes 20, the final "release lock" call will fail withExpiredToken, leaving the lock stranded. - Runner Eviction: Spot instance reclamation or Kubernetes OOM-kills terminate the Terraform process with a
SIGKILL, leaving no opportunity for the exit handler to clean up the lock. - Cancel-in-progress: Enabling
cancel-in-progress: truein GitHub Actions will kill a running apply if a second push occurs. Always use a per-state concurrency group withcancel-in-progress: false. - Atlantis Conflicts: Atlantis maintains its own internal lock layer.
atlantis terraform force unlockand the native CLI command are different operations; always clear the Atlantis lock first.
After the unlock: Finding what the dead apply already built
If the Operation was Apply, the state file is likely behind reality. You now have infrastructure that is "orphaned"—it exists, you are paying for it, but Terraform doesn't know it owns it.
Step 1: Backup. Run terraform state pull > backup.tfstate and record the S3 object version.
Step 2: Locate. Search your CI logs for Creation complete after... strings. These lines contain the physical IDs of resources created right before the crash.
Step 3: Diff. Compare terraform plan -refresh=false (what state thinks) against terraform apply -refresh-only (what reality is).
Use terraform import to bring the newly created orphans into state and terraform state rm for anything that was successfully deleted but still appears in the state file. Pay close attention to NAT Gateways and RDS instances, which can silently duplicate and inflate your bill.
Why this matters
The state lock does not protect your infrastructure; it protects the record of your infrastructure. As noted by competitors like Stategraph, breaking a lock is dangerous because it masks the fact that your infrastructure and state have diverged.
In a modern SRE environment, you cannot afford to guess. The evidence required to safely run terraform force-unlock lives across CI logs, cloud audit trails, and state metadata. Manually assembling this context during a production incident is why many teams settle for "just run the command and hope."
At Operate, we believe these investigations should be evidential. Our AI SRE platform treats a stuck lock not just as a blocked pipeline, but as a root cause investigation. Operate’s agents can automatically query CI APIs, diff state versions, and identify orphaned resources, drafting the necessary terraform import commands as a PR. By the time you see the alert, the forensic work is already done.
Sources & further reading
- According to HashiCorp,
force-unlockdoes not modify infrastructure, which is why manual reconciliation is required. - The Spacelift troubleshooting guide suggests
terraform state pullas a reachability test, though it does not confirm lock liveness. - OneUptime provides the most comprehensive list of post-unlock reconciliation commands, including
refresh-only. - Operational details on S3
use_lockfileare sourced from the official Terraform S3 backend documentation.